Home / How to Read a Stone Slab Before Choosing It
How to Read a Stone Slab Before Choosing It
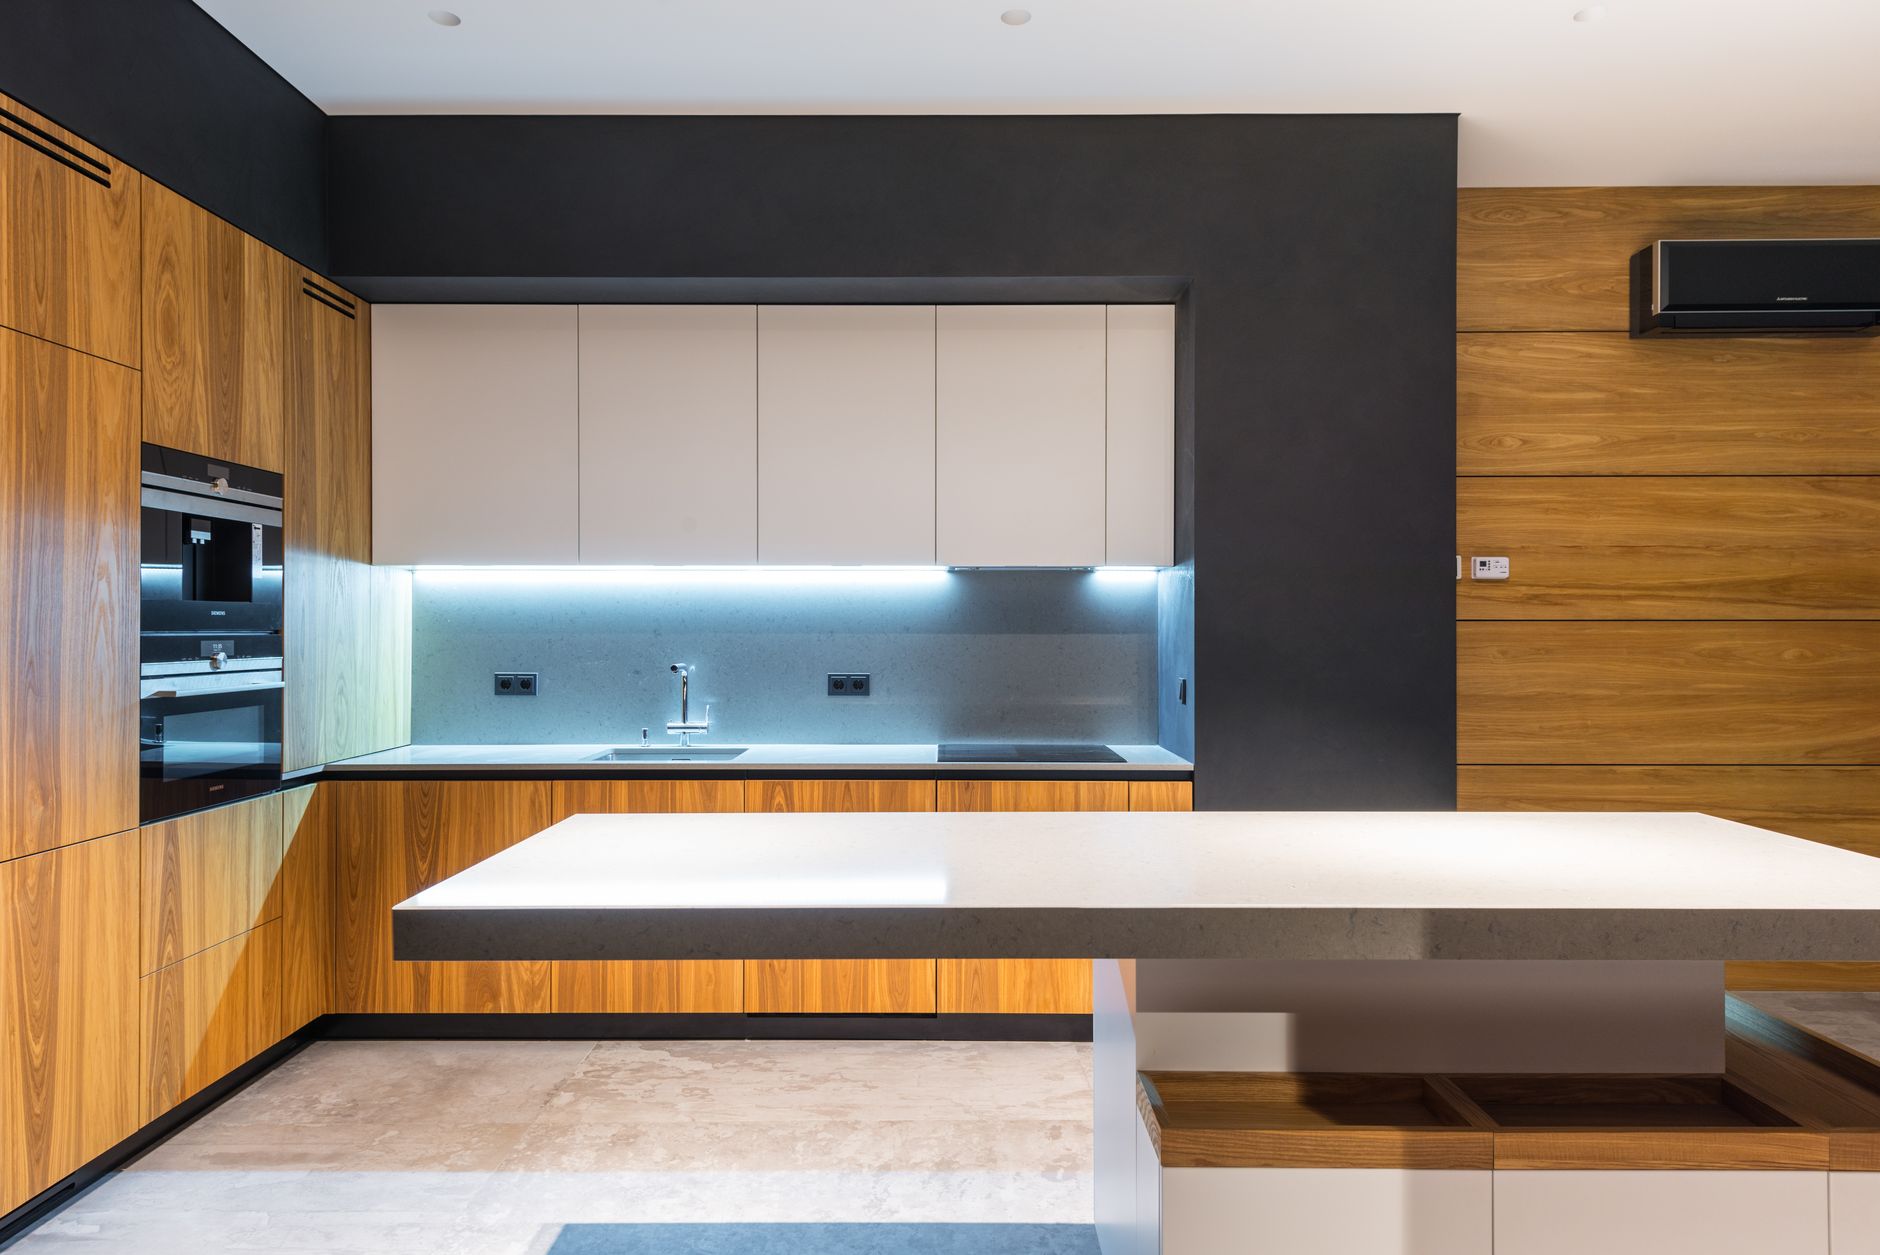
The way to read a stone slab is to view it upright, in natural light, from several steps back and then up close, looking for veining direction, pits, fissures, color shifts and repairs. A slab is a full picture of what the countertop will become, and a five minute inspection at the stone yard prevents most surprises after installation.
Ask to see the whole slab
A showroom sample is a palm-sized square cut from somewhere in a block. The slab itself may be darker at one end, busier near the middle or crossed by a band that the sample never showed. Stone yards stand slabs on A-frame racks, so ask to see the one that will be cut for the job, and ask that it be pulled out and propped where the sun reaches it. Inside a warehouse with yellow overhead lamps, a gray stone can look beige.
Look from a distance first
Stand at least ten feet back. From that distance the overall movement becomes clear: does the vein flow diagonally, run in horizontal bands, or scatter in blotches? Decide whether that pattern will suit the room. A dramatic diagonal can look striking on an island yet awkward along a short wall. Next, look for a dark cloud or a lighter patch that draws the eye, because these will be the first things noticed once the stone is installed.
Then move in close
Within arm's length, examine the surface for the features below.
- Pits: tiny depressions where a crystal fell out during polishing. A few are normal in granite and quartzite, especially in coarse varieties, but a cluster in one spot can catch crumbs.
- Fissures: thin, natural cracks that look like hairline marks. Run a fingernail across; if it catches, the crack is real and deeper than a vein.
- Veins: color bands that were deposited during formation. They are solid and part of the beauty.
- Resin fills: shiny patches where the factory filled gaps with clear or tinted epoxy. Large fills may wear differently.
- Edge chips: damage from transport along the slab perimeter, usually trimmed away during fabrication.
Tell a vein from a fissure
A vein has the same smooth feel as the rest of the polished surface. A fissure has a tiny ridge or gap. Fissures are not always a defect, and many fabricators treat them as natural, but one that runs across the width of a narrow section is a risk. Hold a flashlight at a low angle across the surface, and a fissure will cast a thin shadow while a vein will not.
Check thickness and flatness
Slabs are usually sold in a nominal thickness, and variation of a millimeter or two between slabs is common. Check several edges by eye. A slab that bows, meaning that it arcs along its length, is harder to install flat. Laying a straight edge across the face is a fair test if the yard allows it.
Look at the back
If the slab is stacked, sneak a view of the unpolished face on the next one. Mesh backing and resin reinforcement show up here. Mesh supports fragile stones and is normal on many marbles and exotic granites. It is not a flaw, but it tells you the slab has fractures that were stabilized.
Plan the layout on the slab
Once the slab is chosen, the fabricator can lay out the pieces on a template or photograph. Ask to see where the sink, cooktop and seams will fall. Request that the best section be cut for the most visible area, such as the island face, and that cutouts and seams be placed to avoid the biggest fissures or darkest clouds. Bring a tape measure and mark target areas with painter's tape on the slab, which many yards allow with a quick note.
Match across multiple slabs
Large kitchens often need two or more slabs. Ask to see them side by side and numbered in sequence. Consecutive slabs cut from the same block generally match closely, and a book-matched pair mirrors the pattern like open pages. If slabs come from different blocks, color and veining may differ enough to notice at the seam.
Photograph and tag it
Take clear pictures of the whole slab and of any areas of concern. Ask the yard to tag or reserve the slab with the buyer's name and a lot number. Without a tag, slabs can be sold or swapped, and the pictures become the evidence of what was chosen.
Check the finish under water
Sprinkle a little water on a corner of the surface, if permitted. Wet stone shows its richest color, similar to what a freshly sealed slab will look like. It also reveals whether the finish is even or patchy. Allow it to dry and watch how quickly: stone that darkens and takes a long time to dry is more porous.
Ask what has been done to it
Some stones are treated before sale with resins, dyes or waxes to make them look better. The yard should be able to say whether the slab has been resin filled, backed with mesh, or enhanced. Knowing this in advance helps in choosing sealers and cleaners, since a waxed surface, for example, reacts differently to certain products.
Make a decision with a checklist
- Seen full slab in daylight.
- No long fissure across narrow sections.
- Pits and fills acceptable up close.
- Back and thickness inspected.
- Layout drawn and approved.
- Slab photographed and tagged.
With that done, the stone cut at the shop is the stone that was chosen, which is the whole point of reading it first.
Slab numbers and yard etiquette
Every slab carries a number, often written in chalk or on a sticker, that identifies its block and position. Writing that number beside a photograph is the simplest insurance against a mix-up between the yard, the shop and the delivery truck. Yards also have habits: slabs are heavy, racks can shift, and visitors are asked to let staff move them. Handle nothing without help, keep fingers clear of the gaps between slabs, and keep children away from the racks.
Water spots, tape and temporary marks
Stone left outside under a tarp for weeks can carry rust spots from the metal racks, and sticker residue can mimic a stain. Ask whether a mark is on the slab or only on its protective film. Rust from a rack frame usually lifts with a poultice, while a deep orange cloud inside a lighter stone may be iron in the rock itself and will not move.